Megalopolis: How to Use Unreal Engine For Final VFX? | Breakdown
Megalopolis schedule was tight, and there was a lot of ground to cover. A team of five artists and an engineer, took on the backgrounds for five minutes of final VFX work. Safari led the team over 15 weeks. For the amount of time we had, I think the team did a great job. Here’s a peek at how it all came together.
Why Choose Unreal Engine for Final VFX?
To leverage online asset libraries, real-time design process, and shorter render-times.
Image showing four key steps: technical testing, design and lighting, final shots and virtual sets, and rendering and compositing. Collaborators included Jesse James, Rob Legato, and Johnson Thomasson, with compositing by Rise FX.
The client, Jesse James (VFX Supervisor), already planned to use Unreal Engine, the film leaned heavily on ICVFX but had very few establishing shots. That’s where we came in. After a technical test requested by Robert Legato and Jesse, Safari led a small team to design, light, and render four sequences, including the city reveal.
That launched the project, over 15 weeks, we worked in Unreal Engine 5.3 with the Path Tracer, handling layout, asset prep, lighting, and camera passes. Final shots were delivered, along with additional virtual-sets passed to Johnson Thomasson for rendering and handoff to Rise FX for comp. Unreal Engine became the connective tissue between previs, the virtual art department, and final VFX, helping us stay nimble as the scenes continued to evolve.
How Did We Build a Flexible Real-time World?
By using modular kits and real-time tools to build the space quickly, alongside the VFX supervisors.
The scenes were created in Unreal Engine over a 14-week period. This is a breakdown of the scenes we built ahead of production. Each scene had a unique set of shots and challenges, which determined how long they took to complete.
We used modular kits, KitBash3D, photogrammetry, and pre-set lighting setups to go from concept to interactive environments ASAP. Asset creation, camera layout, and concept development were happening in parallel, so we worked in a system that allowed for scene blocking, lighting, and asset iteration all at once.
How Did We Make the City Feel Alive?
Crowds, mocap, animation, and FX that gave Megalopolis life.


To give the city presence, we relied on in-house mocap (led by Brian Brewer), character creator tools, fire and atmosphere FX (EmberGen), and custom animations for major set pieces like the Megalon structures. The goal was to make a space that felt populated, surreal, and cinematic, without breaking the budget.
How Did We Design and Light Cinematic Shots in Unreal?
By treating digital environments like real live-action sets and using cameras that matched traditional cinematography.
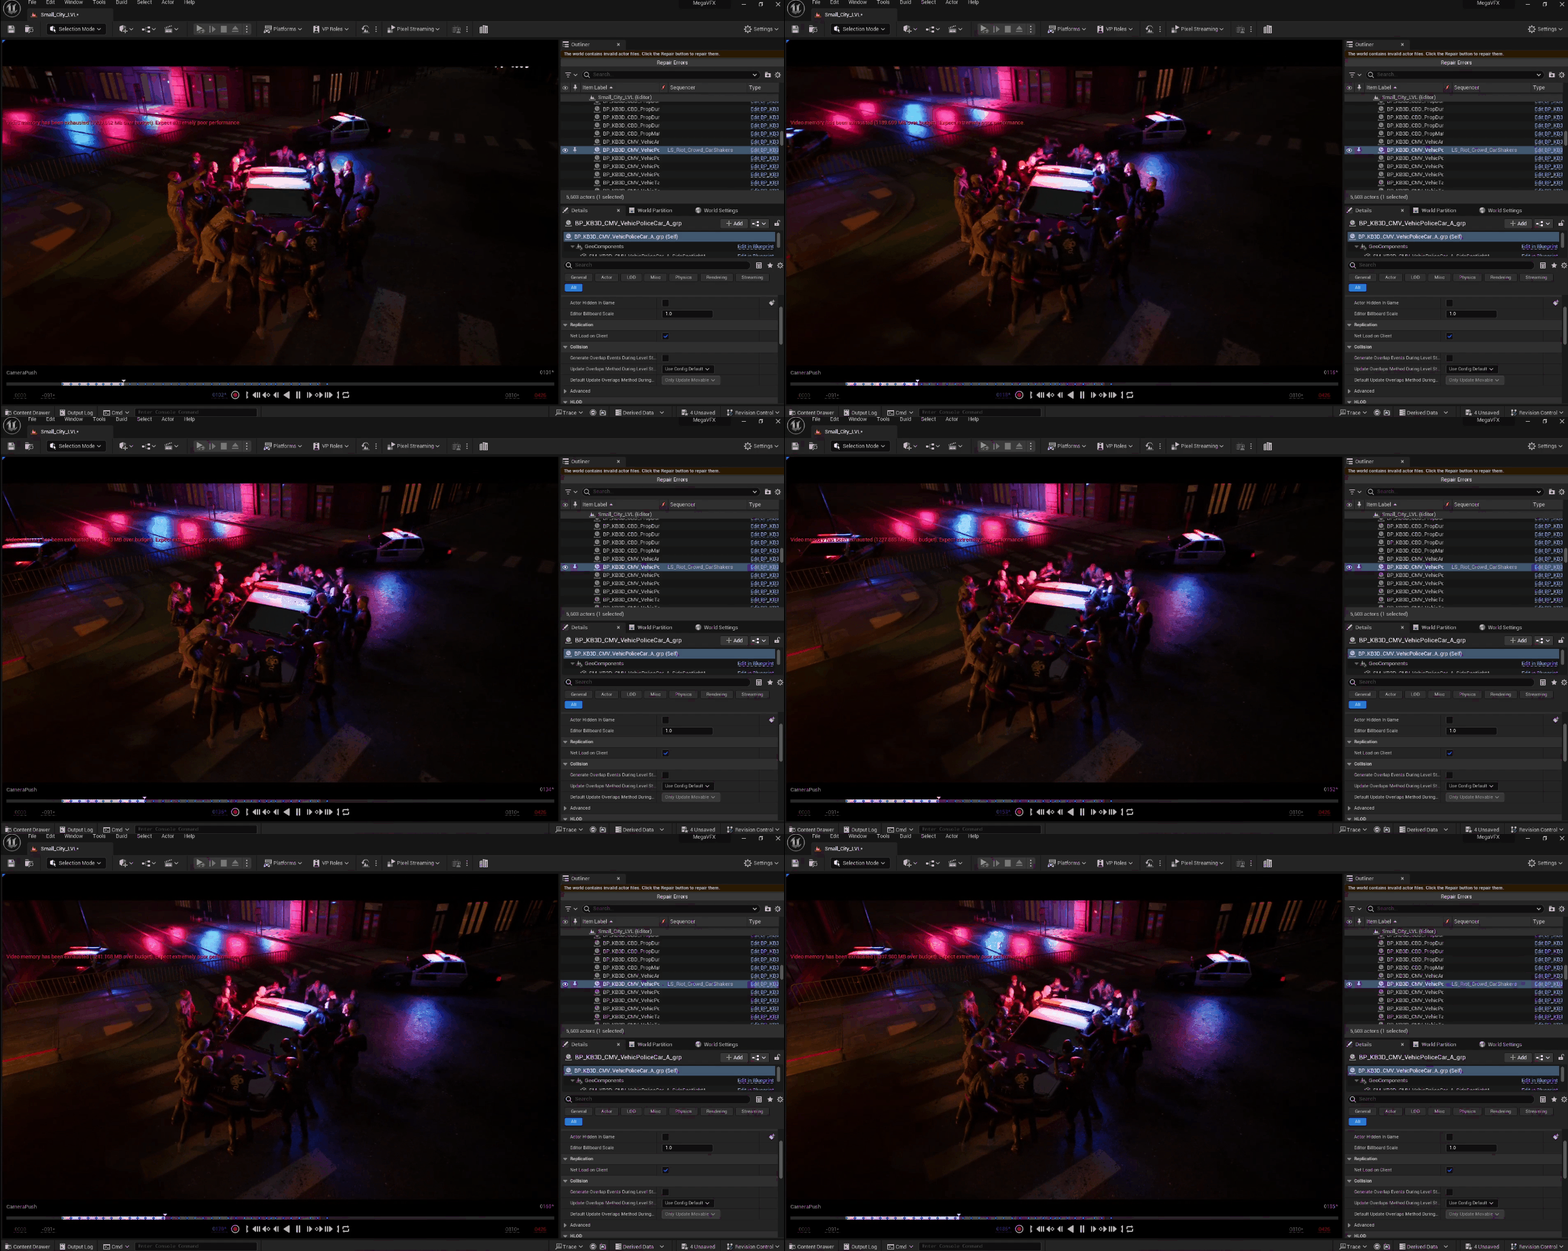
A screenshot taken directly from Unreal Engine, showing the scene plates layered over the in-progress real-time environment.
The team broke down the plates and added them into Unreal Engine to match the camera angle. Sometimes we tracked the shots if needed and matched the live-action shots for color and tone. This shot above is from an in-progress scene in Unreal, which was used to create final renders and could be moved around or adjusted in real-time with the team.
How To Render Final Shots in Unreal and Hand Them Off to VFX?
We rendered final film-quality EXRs, organized beauty, matte, and FX passes, and prepped handoff packages so the VFX team could continue rendering seamlessly.
All environments and scenes were taken to the point where the client can take them, and produce final renders to be composited after. shots we took to final film-ready ourselves, others we prepped for the studio to render later. We rendered high-quality EXRs using Movie Render Queue, organized beauty, matte, and FX passes, and delivered clean handoff packages for Rise FX to take over with minimal back-and-forth.
What Did Our Prelim Schedule Look Like?
A week-by-week look at our team’s milestones, hours, and workflow.
Here’s a look at the set creation schedule we built for Megalopolis. It covers 15 weeks, showing how we handled design, construction, and final pixel handoff across four key environments. We broke it down by week, with team roles and milestones tracked every step of the way. The timeline also captures how the daily virtual stage walks and photogrammetry sessions helped us refine everything in real-time.
This set creation schedule covered 5 minutes of showtime, with 4 scenes broken into multiple shots, all tackled over 15 weeks. We focused first on design, figuring out what things would look like and leaning on online assets to speed up the construction stage. During construction, we only built what was needed for the final camera angles agreed upon in online reviews with VFX supervisors. As one batch of sets neared completion, we’d start the next.
What makes this cool is, thanks to this layered approach, the team size didn’t need to expand, the Asset Construction and Final Pixel teams worked on two sets at a time. Whenever the final assets were updated, they would pop-into the scenes automatically. It’s a small-scale version of a process we’ve used on bigger productions, and it’s a great example of how flexible and efficient this workflow can be.
What Did We Learn from This Real-time VFX Pipeline?
Our approach to Unreal Engine is always focused on the story, and how to design it to that. Key lessons: front-load kitbashing, stay in Unreal as much as possible, assign clear roles, and keep processes tight. Real-time can speed things up, but only if your structure keeps up too.
Shout-out to the team:
Safari - VAD Supervisor | Principle Creative
Dallas - Sr VAD Artist
Kris Taylor - VAD Lead
Bryan Brewer - Mocap Artist and Animator
Ross - VAD Engineer
Natasha - VAD Manager
Thanks for reading.

